Fill Out a Valid 96 Well Template
Guide to Writing 96 Well
Filling out the 96 Well form is a straightforward process. By following the steps below, you can ensure that all necessary information is accurately provided. This will help streamline the next steps in your project.
- Begin by gathering all necessary information that you will need to complete the form.
- Locate the section of the form where you need to input your data.
- Carefully enter your information in the designated fields. Double-check for accuracy.
- If applicable, fill out any additional sections that require specific details.
- Review the entire form to ensure all information is complete and correct.
- Sign and date the form where indicated.
- Submit the form according to the instructions provided.
Document Breakdown
| Fact Name | Description |
|---|---|
| Purpose | The 96 Well form is used primarily for data collection in various scientific and research applications. |
| Format | This form typically consists of 96 wells arranged in an 8x12 grid, allowing for multiple samples to be analyzed simultaneously. |
| Common Uses | It is commonly used in laboratories for assays, including ELISA, PCR, and cell culture experiments. |
| Material | Most 96 Well forms are made from polystyrene or polypropylene, which are chosen for their chemical resistance and clarity. |
| State-Specific Regulations | In some states, specific regulations govern the use of laboratory equipment, including the 96 Well form, to ensure safety and compliance. |
| Governing Law | In California, for example, the use of laboratory equipment must comply with the California Health and Safety Code. |
| Storage Conditions | Proper storage conditions are critical; the forms should be kept in a cool, dry place to maintain integrity. |
| Disposal | Disposal of used 96 Well forms should follow local hazardous waste regulations to ensure environmental safety. |
FAQ
What is the 96 Well form used for?
The 96 Well form is commonly used in laboratory settings, particularly in biological and chemical research. This form helps researchers organize and record data from experiments that involve 96-well plates. Each well in the plate can hold a different sample, allowing for multiple tests to be conducted simultaneously. By using the form, researchers can track sample information, experimental conditions, and results efficiently.
How do I fill out the 96 Well form correctly?
Filling out the 96 Well form is straightforward. Here are some steps to guide you:
- Start by entering the experiment title and date at the top of the form.
- Label each column with the sample or reagent name that corresponds to the wells in the plate.
- Record the specific conditions for each sample, such as concentration or temperature, in the designated sections.
- As you conduct your experiment, document any observations or results in the appropriate spaces.
- Double-check your entries for accuracy before finalizing the form.
Ensuring clarity and precision in your entries will make data analysis much easier later on.
Can I use the 96 Well form for different types of experiments?
Yes, the 96 Well form is versatile and can be adapted for various types of experiments. Whether you are conducting enzyme assays, cell culture experiments, or PCR tests, this form can be tailored to fit your needs. Just be sure to modify the sections to reflect the specific parameters of your experiment. This flexibility makes it a valuable tool across many scientific disciplines.
Is there a digital version of the 96 Well form available?
Many laboratories and institutions offer digital versions of the 96 Well form. These electronic forms can often be filled out on a computer or tablet, making data entry more efficient. Some digital formats even allow for automatic calculations and data analysis, streamlining the research process. Check with your lab or institution to see if a digital version is available for your use.
What should I do if I make a mistake on the 96 Well form?
Mistakes can happen, and it's important to address them properly. If you notice an error, follow these steps:
- Strike through the incorrect entry with a single line to maintain readability.
- Write the correct information next to it, ensuring it is clear and legible.
- Initial and date the correction to provide a record of the change.
By handling mistakes this way, you maintain the integrity of your data while ensuring that your records remain accurate.
Fill out Other Forms
Yugioh Deck List Form - Each round of competition may have a unique check to monitor adherence to rules.
When preparing for the future, understanding the importance of a properly drafted Last Will and Testament document is fundamental. This legal form serves to clearly delineate how your assets will be distributed and ensures your wishes are fulfilled. To learn more about this vital process, visit the resource on creating a comprehensive Last Will and Testament. For more information, check out the detailed guidelines on Last Will and Testament forms.
Florida 4 Point Inspection - Any prior leak evidence or visible signs of damage must be included in the report findings.
Clean Up Batter - Invest in pre-game preparation by filling out this form accurately.
96 Well Example

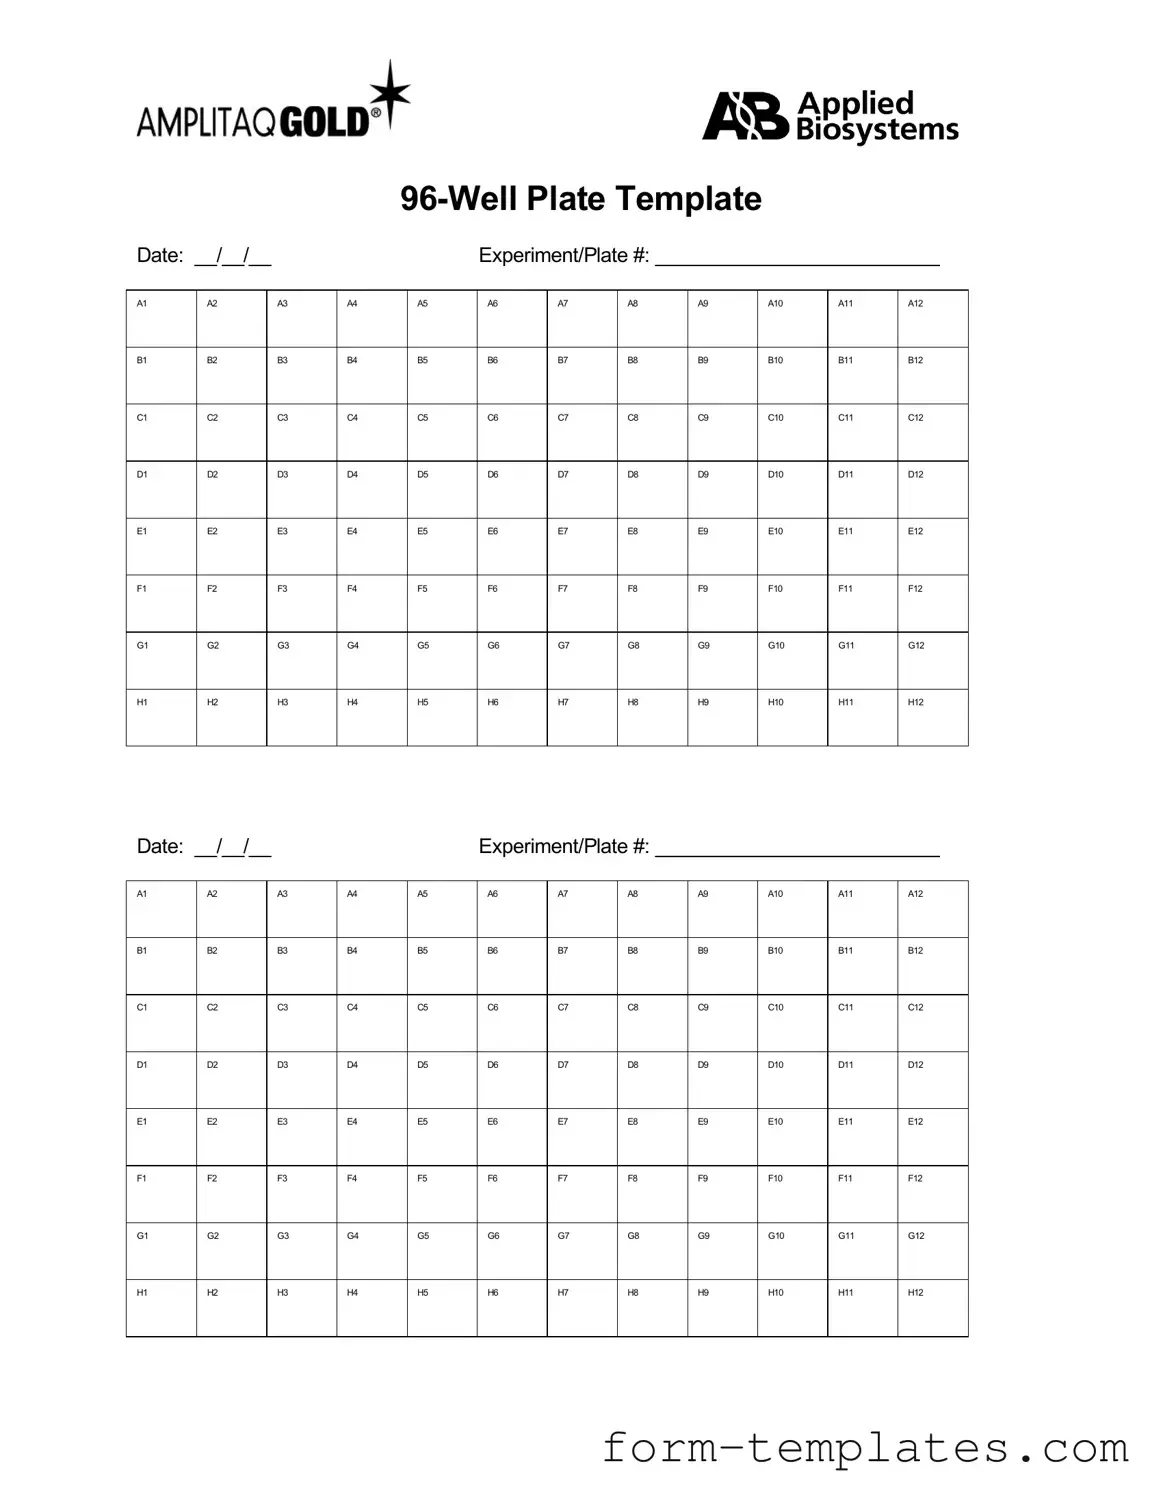
Date: __/__/__ |
|
|
|
Experiment/Plate #: __________________________ |
||||||||
|
|
|
|
|
|
|
|
|
|
|
|
|
A1 |
A2 |
|
A3 |
A4 |
A5 |
A6 |
A7 |
A8 |
A9 |
A10 |
A11 |
A12 |
|
|
|
|
|
|
|
|
|
|
|
|
|
B1 |
B2 |
|
B3 |
B4 |
B5 |
B6 |
B7 |
B8 |
B9 |
B10 |
B11 |
B12 |
|
|
|
|
|
|
|
|
|
|
|
|
|
C1 |
C2 |
|
C3 |
C4 |
C5 |
C6 |
C7 |
C8 |
C9 |
C10 |
C11 |
C12 |
|
|
|
|
|
|
|
|
|
|
|
|
|
D1 |
D2 |
|
D3 |
D4 |
D5 |
D6 |
D7 |
D8 |
D9 |
D10 |
D11 |
D12 |
|
|
|
|
|
|
|
|
|
|
|
|
|
E1 |
E2 |
|
E3 |
E4 |
E5 |
E6 |
E7 |
E8 |
E9 |
E10 |
E11 |
E12 |
|
|
|
|
|
|
|
|
|
|
|
|
|
F1 |
F2 |
|
F3 |
F4 |
F5 |
F6 |
F7 |
F8 |
F9 |
F10 |
F11 |
F12 |
|
|
|
|
|
|
|
|
|
|
|
|
|
G1 |
G2 |
|
G3 |
G4 |
G5 |
G6 |
G7 |
G8 |
G9 |
G10 |
G11 |
G12 |
|
|
|
|
|
|
|
|
|
|
|
|
|
H1 |
H2 |
|
H3 |
H4 |
H5 |
H6 |
H7 |
H8 |
H9 |
H10 |
H11 |
H12 |
|
|
|
|
|
|
|
|
|
|
|
|
|